Gameplay
BOMBANANA! gameplay and Free Mode — the core gameplay loop, bomb designer, voice chat, achievements and game modes.
Introduction
BOMBANANA! Gameplay and Free Mode offer two distinct play experiences: structured progression through the main campaign and customizable practice in Free Mode. The main campaign presents levels in increasing difficulty, teaching you game mechanics through curated challenges. Free Mode lets you customize every aspect of the bomb—module types, quantity, time limits, strike allowance—for targeted practice on specific skills. Whether you want to climb the ranked ladder or drill wire-cutting until it is automatic, BOMBANANA! has a mode for your goals.
Gameplay & Free Mode
| Mode | Description | Players |
|---|---|---|
| Story Mode | Campaign progression | 3 |
| Free Mode | Customizable practice | 1-3 |
| Daily Challenge | Curated difficulty spikes | 3 |
Gameplay Cards
Endless Drift – Zen Banana Gliding
Free Mode allows complete customization of bomb parameters: module types, quantity, time limit, and strike allowance. Practice specific module combinations at will.
Free Mode — Customized Practice Environment
Full parameter control for targeted practice: module types, quantities, timer duration, and strike limits. Perfect for mastering specific modules or creating custom challenge scenarios.
Bomb Designer — Create Custom Challenges
Design your own bomb configurations with selected modules and parameters. Share challenge codes with friends or compete on community-created difficulty ratings and completion times.
Core Mechanics
BOMBANANA! gameplay follows a consistent loop: receive bomb, assess modules, communicate solution, execute defusal, handle strikes or success. In campaign mode, this loop repeats across increasingly difficult levels, with each level teaching specific lessons about coordination and module handling. In Free Mode, you customize the loop parameters: select specific module types to practice, set time limits matching your target difficulty, and configure strike limits to increase pressure. The Bomb Designer goes further, letting you create custom challenges and share them with friends through challenge codes. Voice chat integration enables real-time communication with push-to-talk support, and the in-game timer displays both elapsed time and strikes remaining.
Advantages
BOMBANANA! gameplay modes give your squad four advantages. First, campaign mode provides structured learning: each level is designed to teach specific skills, so progress feels meaningful rather than random. Second, Free Mode enables targeted practice: if your crew struggles with Simon Says, set up a Free Mode session with only Simon Says modules until you master it. Third, the Bomb Designer creates endless replayability: create impossible custom challenges, compete with friends on who can defuse your custom bombs fastest, and share creative configurations with the community. Fourth, voice chat and push-to-talk integration enable real coordination that feels natural and responsive.
Challenges
BOMBANANA! gameplay has three main limitations. First, the game requires exactly three players: you cannot play with two or four, which limits scheduling flexibility and makes solo practice impossible. Second, some game modes require online connectivity: single-player practice in Free Mode is available, but ranked and daily challenges require stable internet. Third, the learning curve for coordination is steep: understanding the game is easy, but mastering three-way communication takes significant practice time. These limitations are inherent to the three-monkey design philosophy: the game prioritizes depth of coordination over accessibility, which may not suit all player groups.
Frequently Asked Questions
What is the best approach for gameplay in BOMBANANA!?+
How do I improve at gameplay?+
Quick Tips
Free Mode lets you customize bomb parameters—use it to focus practice on weak module types.
The Bomb Designer creates custom challenges for friends—share codes to compare strategies.
Voice chat integration works best with push-to-talk enabled to avoid accidental noise.
Achievements unlock through diverse gameplay—complete at least one of every achievement category.
The in-game timer shows both elapsed time and strikes remaining—watch both simultaneously.
Featured

BOMBANANA! core gameplay: objective and how rounds work
Understand BOMBANANA core gameplay with the objective and how rounds work. Learn the gameplay loop, how to win a round, and what to do each match.
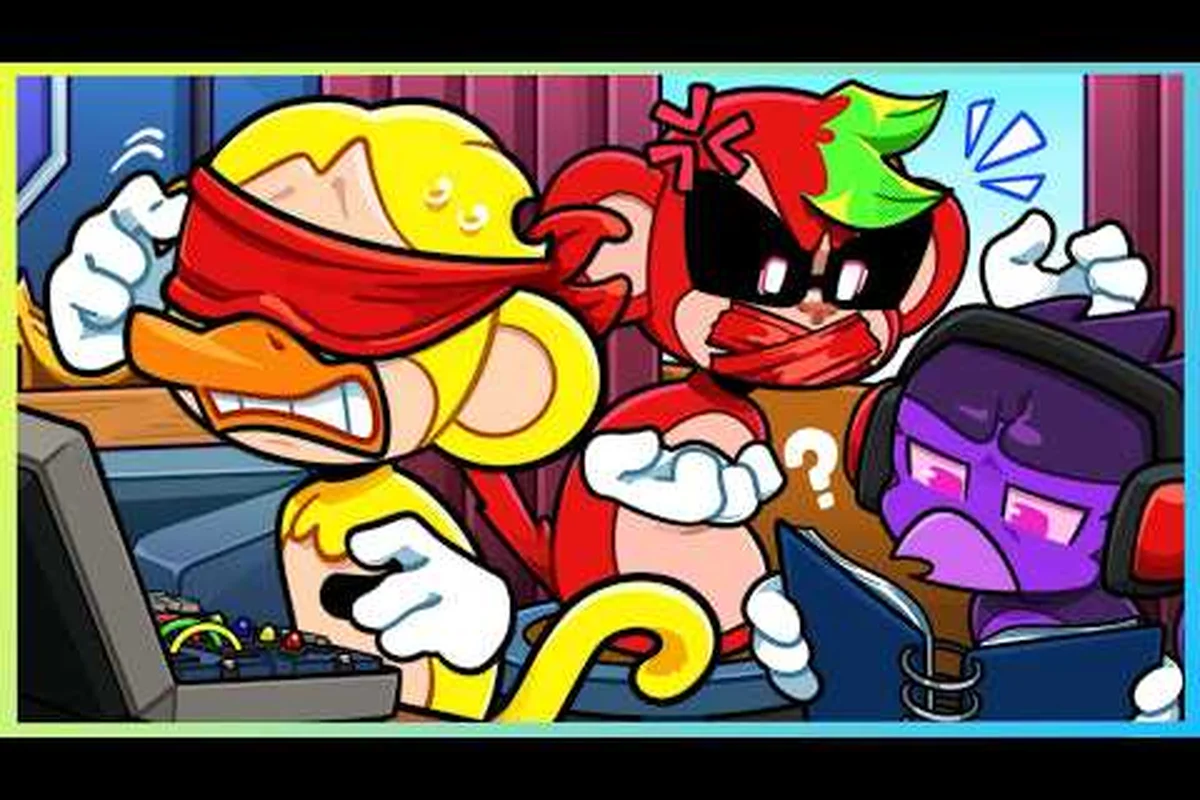
BOMBANANA! gameplay guide: modes, free mode, and mechanics explained
Read this BOMBANANA gameplay guide to understand every mode, free mode, and core mechanic so your three-monkey team can defuse bombs efficiently!
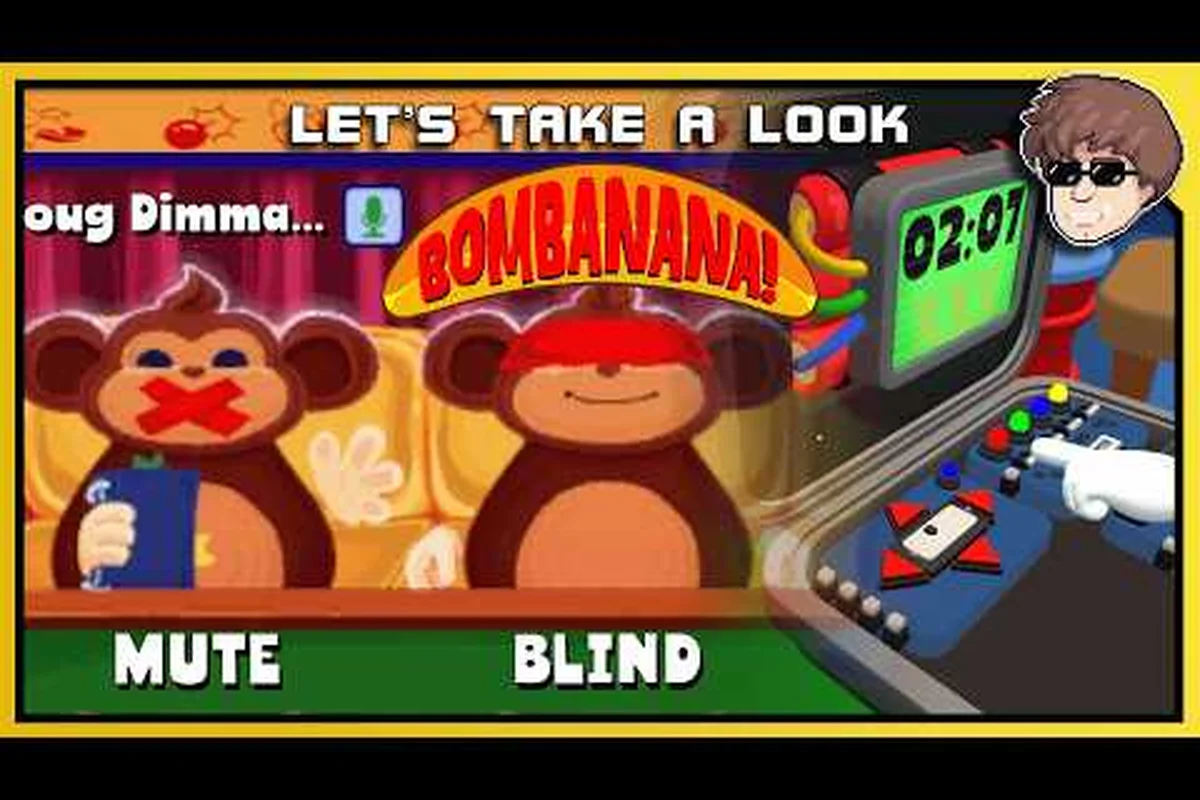
BOMBANANA! how to create a lobby: invite codes and setup
Set up a BOMBANANA lobby in minutes with this guide. Learn invite codes, join options, and network fixes from the latest hot fix so your monkey squad defuses.
All Articles
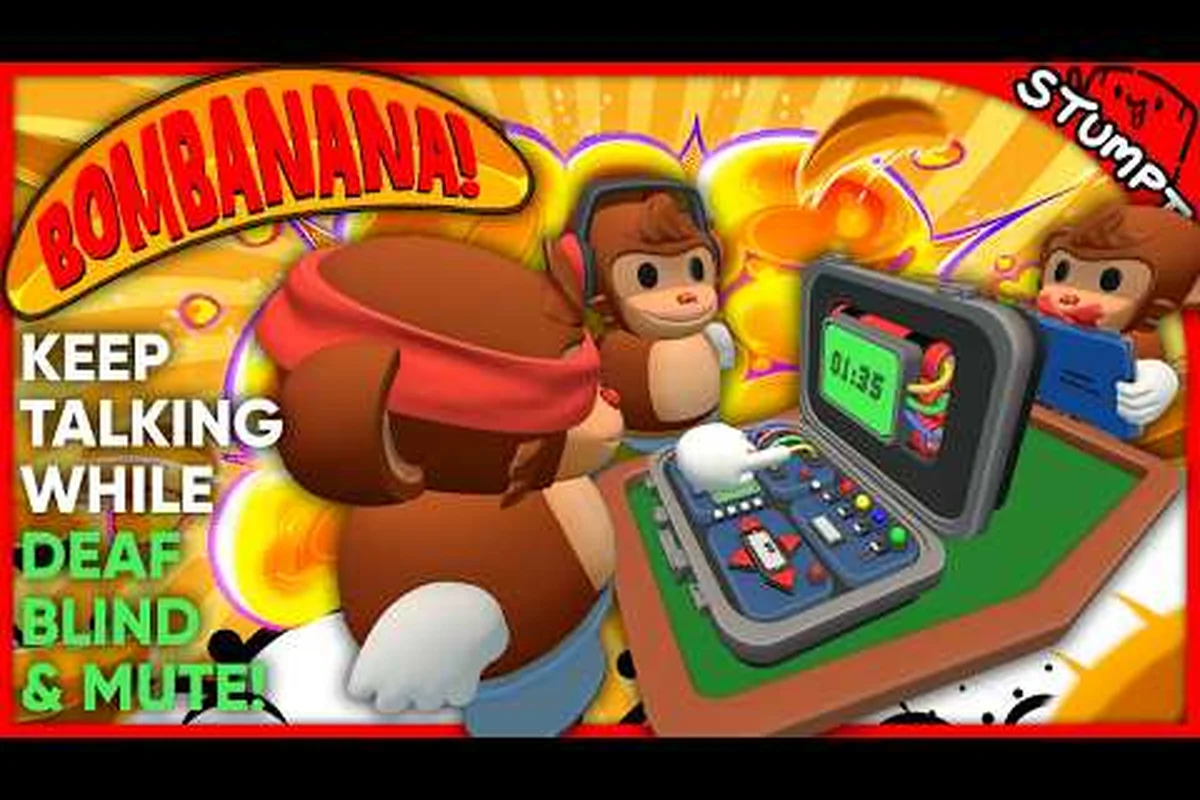
BOMBANANA offline mode: can you play without internet?
Wondering if BOMBANANA needs internet? This guide explains offline mode, matchmaking, and the minivan setting, plus banana mechanics for solo play.
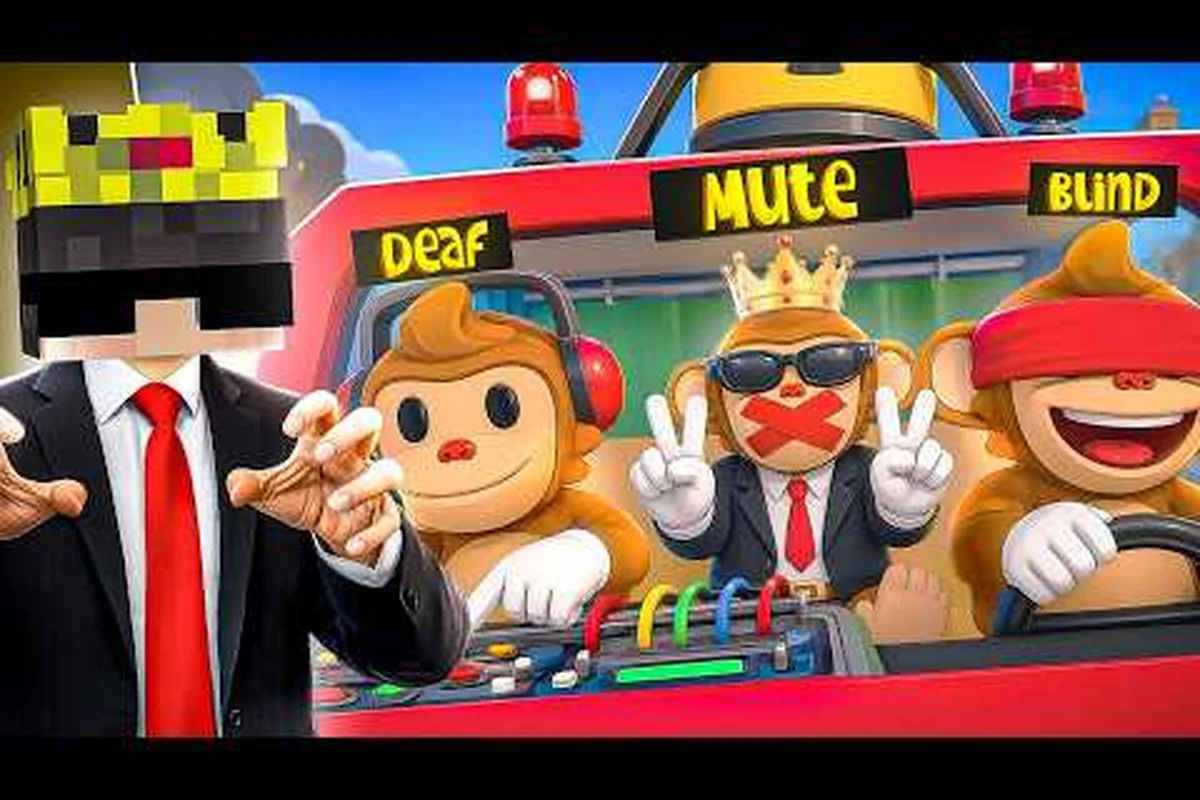
BOMBANANA! round structure: game length and replayability
Learn BOMBANANA round structure, how long is a game, and session length. Discover replayability and lobby tips to maximize fun with your monkey squad.
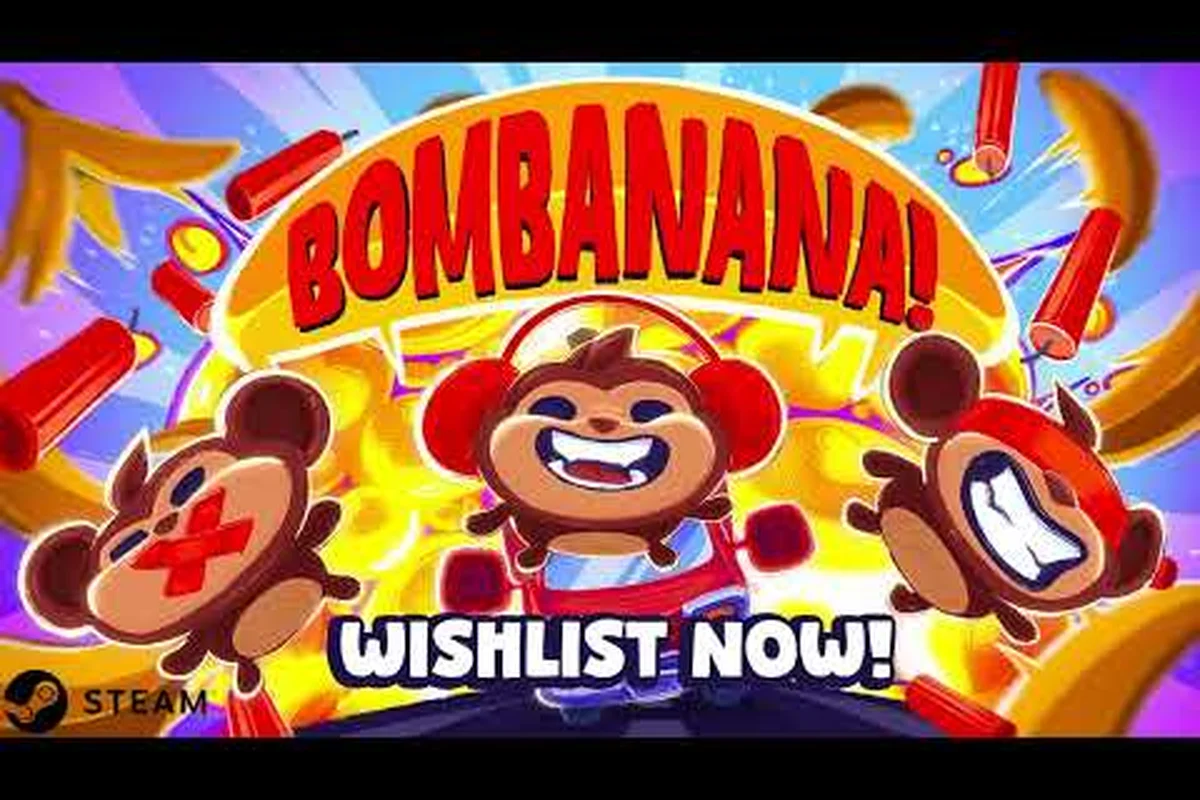
BOMBANANA! bomb creator: design custom bombs and rules
Explore BOMBANANA bomb creator to design custom bombs. Learn the game rules, gameplay overview, and tips for crafting challenges that test your monkey team.
BOMBANANA! how to get achievements: full Steam list
Discover how to get every achievement in BOMBANANA with this full Steam list, covering hidden challenges and tricky milestones for completionists!