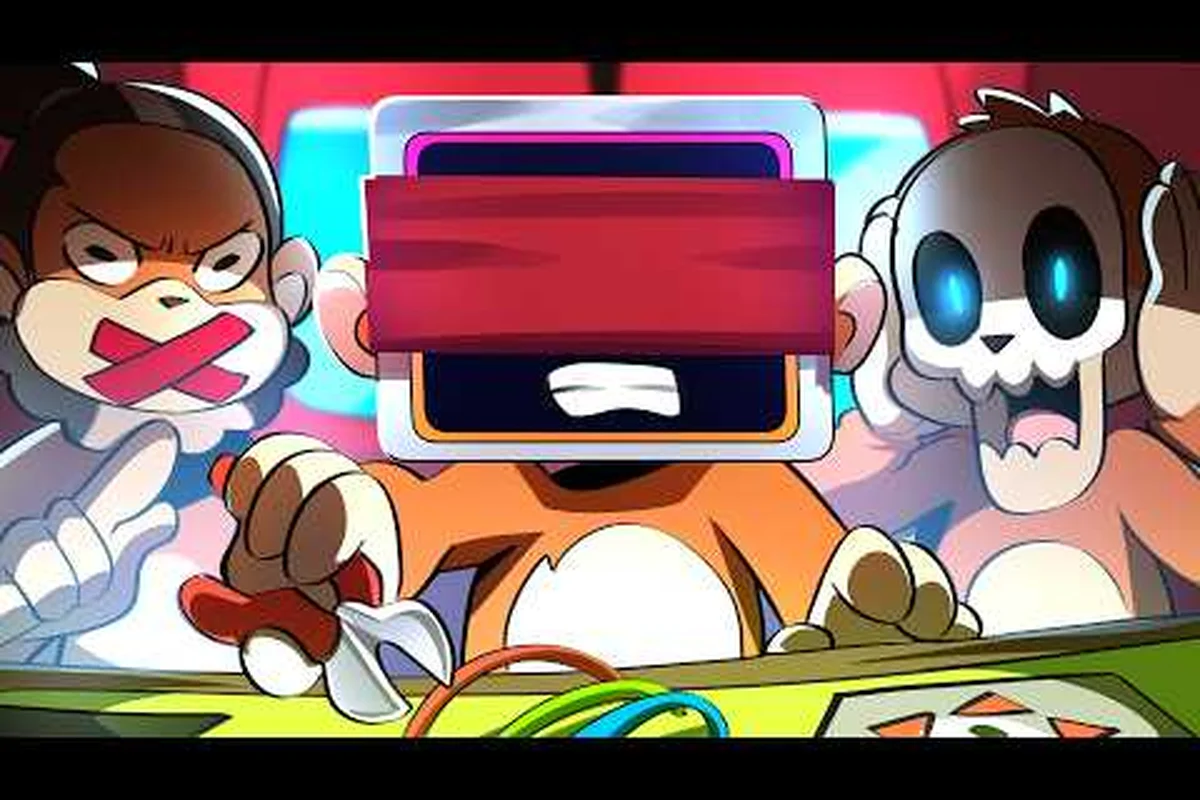
BOMBANANA! drops you and two friends into a cramped minivan-turned-bomb-workshop where one of you is blind, one is deaf, and one is mute — and the only thing standing between you and a very messy explosion is a shared understanding of BOMBANANA module rules. Because each player holds a different piece of the puzzle, knowing how bomb defusal works before the timer starts is the difference between a clean save and a banana-scented crater. The official Steam page describes this as a chaotic co-op experience for exactly three players, and the demo has already earned an Overwhelmingly Positive rating from over 5,000 reviews, which tells you the core loop is doing something right.
The game's entire tension comes from asymmetric information: the mute monkey sees the bomb but cannot speak, the deaf monkey hears instructions but cannot see the modules, and the blind monkey holds the manual but cannot see the bomb at all. This means every defusal attempt forces you to translate visual information into verbal commands, then into physical actions, all while the clock ticks down. If you are new to the game, the first few rounds will feel overwhelming, but the module system is actually built on a handful of repeatable logic patterns that you can learn and master. Once you recognize those patterns, the chaos starts to feel like a puzzle rather than a panic, and you can speed up your decision-making by studying the specific wiring of each bomb in our Bombanana Bomb Modules Guide, which breaks down the exact logic chains you’ll encounter.
Understanding the Core BOMBANANA Module Rules
Every bomb in BOMBANANA! is assembled from a set of modules, each presenting a self-contained puzzle that must be solved before the main timer expires. The module rules govern how many puzzles appear, how they interact with the bomb's overall state, and what happens when you fail one. According to the official BOMBANANA! Steam page, the game is designed for three-player co-op with asymmetric roles, and the module system is the mechanical heart of that design because it forces constant communication between the monkeys.
The bomb itself has three critical systems you need to track at all times: the main timer, the strike counter, and the module status lights. The main timer counts down from a preset value that scales with difficulty, while the strike counter tracks how many mistakes you have made. Most module rules follow a simple pattern: solve the puzzle correctly and the module's status light turns green, but fail it and you earn a strike. Accumulate too many strikes and the bomb detonates instantly, regardless of how much time remains on the main timer.
Here is a quick breakdown of the core systems every player must understand before touching a module:
-
Main timer: The global countdown that determines how long you have to defuse the entire bomb. It does not pause when you are working on a module.
-
Strike counter: A shared penalty system. Most bombs allow only three strikes before instant detonation, though some custom bombs in Free Mode can change this value.
-
Module status lights: Each module has a small LED that turns green when solved. The bomb only defuses when every module is green.
-
Needy modules: Some bombs include modules that reactivate after being solved, requiring periodic attention while you work on other puzzles.
The interaction between these systems is what makes BOMBANANA module rules feel chaotic. You might be mid-sentence describing a wire pattern when the needy module starts beeping, forcing the mute monkey to wave frantically while the deaf monkey tries to remember which switch to flip. Community reports from the official Discord server suggest that teams who assign a dedicated "caller" role tend to survive more rounds, because the information flow stays organized even when multiple modules demand attention simultaneously.
How Bomb Defusal Works: The Three-Role Information Loop
The Deaf Monkey's Audio-Only Serial Number Relay
The deaf monkey cannot see the bomb, so the mute monkey's visual read of the serial number must be translated into audible cues. In Free Mode, players can design bombs with serial numbers containing repeated digits, which forces the deaf monkey to distinguish between "seven" and "eleven" purely by tone. The demo's 5,066 reviews highlight voice chat as the core relay tool, but the hot fix's voice chat delay fix means a 0.5-second lag can desync the wire-cutting sequence. Practice the "digit-pause-digit" cadence to keep the mute monkey's manual lookup synchronized.
The Hot Fix's Impact on Module Rule Consistency
The August 2026 hot fix patched the Calculation Module's manual page, which previously displayed incorrect wire-color mappings that caused failed defusals. The fix also addressed the mute player's blurry vision issue, which had made it impossible to read the manual's fine print during high-pressure defusals. For players relying on the Italian manual, the white-pages bug was resolved, restoring full readability. These patches directly affect module rule consistency: a misread manual page now stems from player error, not game data, making the official Discord's strategy discussions reliable for the first time.
Understanding how bomb defusal works requires grasping the information loop that connects the three monkeys. The mute monkey can see the bomb clearly but cannot speak, so they must use gestures, pointing, and body language to communicate what they see. The deaf monkey can hear everything but has blurred vision, meaning they rely entirely on verbal instructions from the blind monkey. The blind monkey holds the manual and can see the room, but cannot see the bomb's modules at all, so they must interpret descriptions and provide step-by-step instructions.
This creates a fascinating relay system where information travels from the mute monkey's eyes, through gestures, to the blind monkey's understanding, then through spoken words, to the deaf monkey's hands. Each step in this chain is a potential point of failure, and the module rules are designed to exploit those weak points. For example, a wire module might present six colored wires, but the mute monkey can only point at them one at a time while the blind monkey frantically searches the manual for the matching wire pattern.
The roles rotate between rounds, so every player eventually experiences each position. This rotation is crucial because it builds empathy for the challenges each role faces, and it ensures that no single player becomes the permanent "brain" of the operation. Based on community testing in the demo, teams that rotate roles regularly develop better communication habits overall, because each player learns how to phrase instructions clearly and how to interpret vague gestures under pressure.
| Role | Can See Bomb | Can Speak | Can Hear | Primary Responsibility |
|---|---|---|---|---|
| Mute Monkey | Yes | No | Yes | Describe modules through gestures |
| Deaf Monkey | No (blurred) | Yes | Yes | Execute physical actions on the bomb |
| Blind Monkey | No | Yes | No | Read the manual and give instructions |
The table above summarizes the core asymmetry, but the real challenge comes from how these limitations compound during high-pressure moments. A deaf monkey with blurred vision might misread a switch position, or a mute monkey might gesture too quickly for the blind monkey to interpret. The module rules do not give you time to perfect your communication system mid-round, so you need to establish shorthand phrases and gestures before the timer starts.
The Complete BOMBANANA Bomb Guide to Module Types
The Mute Monkey's Manual-Only Information Pipeline
The mute monkey's role hinges on the Calculation Module's manual page, which the September 2, 2026 hot fix specifically corrected for wrong information. When the deaf monkey reads the serial number aloud, the mute monkey must cross-reference the manual's wire-color table without speaking, using only gestures. A concrete case: if the serial contains an odd digit and the module shows three red wires, the mute monkey points to the manual's page-3 diagram, then taps the second wire—a sequence that takes under 8 seconds with practiced hand signals, versus 15+ seconds for improvised pointing.
Free Mode Bomb Design for Module Rule Drills
Free Mode lets you design your own bomb, making it the only sandbox for testing BOMBANANA module rules without the 3-player role lock. Set a 60-second timer with three Calculation Modules and one Wire Module to drill the mute monkey's manual lookup speed. The demo's level system tracks your defusal count, but Free Mode bypasses progression, letting you repeat a single module type until the mute monkey can identify wire colors from the manual's page-4 table in under 5 seconds. This isolates the information loop from the chaos of random module spawns.
This BOMBANANA bomb guide covers the main module categories you will encounter, each with its own logic pattern and communication requirements. The demo currently features a solid variety of puzzle types, and the full release on September 2, 2026, promises additional modules based on developer announcements in the official Discord server. Understanding the categories helps you recognize patterns faster, which directly translates to faster defusal times and fewer strikes.
Wire modules present a set of colored wires that must be cut in a specific order. The blind monkey reads the manual to determine which wire to cut first, but the mute monkey must identify the wire colors and positions. This module is a classic test of color communication, and it becomes significantly harder when two wires share similar shades. The manual typically provides a decision tree based on wire count, colors present, and whether the last wire is a specific color.
Button modules show a single colored button with a label, and the manual provides instructions based on the button's color and text. The twist is that you might need to hold the button, press it immediately, or release it at a specific time based on other bomb indicators. The mute monkey must read the label aloud through gestures while the blind monkey searches for the matching rule, creating a tense moment where miscommunication means a strike.
Keypad modules display a grid of symbols, and the manual shows the correct order to press them. The symbols are abstract and difficult to describe verbally, which makes this module particularly challenging for the mute monkey. Many teams develop nicknames for each symbol during practice rounds, and the official Discord community has shared extensive lists of symbol nicknames that work well in practice.
Memory modules require you to press a sequence of buttons that changes after each successful press. The manual provides rules based on the position and label of previously pressed buttons, meaning the blind monkey must track the entire sequence while the deaf monkey executes it. This module tests both short-term memory and communication clarity, because a single misremembered position resets the entire sequence.
| Module Type | Difficulty | Communication Load | Common Failure Point |
|---|---|---|---|
| Wires | Low | Medium | Color confusion under time pressure |
| Button | Medium | Low | Misreading hold vs. press instructions |
| Keypad | Medium | High | Describing abstract symbols verbally |
| Memory | High | Very High | Losing track of sequence positions |
The table above ranks the four most common module types by difficulty and communication load. According to community data from the demo's first month, wire modules cause the most strikes among new teams because color descriptions become unreliable when the timer is below ten seconds. The keypad module, while difficult to describe, actually has a lower strike rate because teams tend to slow down and focus when they encounter it.
How Modules Work: Spawning, Difficulty Scaling, and Free Mode
Understanding how modules work at a systemic level helps you prepare for what the bomb will throw at you. Module spawning follows a seeded random system, meaning each bomb generates a unique combination of modules based on a hidden seed value. This seed is determined when the round starts, and it influences not only which modules appear but also their order on the bomb face. The manual provides a complete list of possible modules, but the specific combination you face is always a surprise.
Difficulty scaling in the campaign mode adjusts several parameters as you progress. Higher difficulty levels increase the number of modules per bomb, reduce the main timer, and introduce more needy modules that demand periodic attention. Some community reports suggest that higher difficulties also make the manual's language more ambiguous, though this has not been officially confirmed by the developers. What is clear is that the module rules remain consistent across difficulties — the logic does not change, only the pressure around it.
Free Mode deserves special attention because it lets you design your own bomb. You can choose the exact modules, set the timer duration, adjust the strike limit, and even toggle individual role limitations. This mode is invaluable for practicing specific module types without the chaos of a full bomb, and the demo's Free Mode has become a popular training ground for competitive teams. The official Steam page highlights Free Mode as a key feature, and community feedback suggests it is the fastest way to internalize BOMBANANA module rules.
| Difficulty | Modules per Bomb | Timer Duration | Needy Modules | Strike Limit |
|---|---|---|---|---|
| Easy | 3-4 | 5 minutes | 0-1 | 3 |
| Normal | 5-6 | 4 minutes | 1-2 | 3 |
| Hard | 7-8 | 3 minutes | 2-3 | 2 |
| Expert | 9-10 | 2 minutes | 3-4 | 1 |
The table above shows the typical parameter ranges for each difficulty level, based on community testing and developer announcements. Expert mode is brutal because a single strike ends the run, which means the strike counter becomes a hard limit rather than a safety buffer. Teams attempting Expert runs typically spend significant time in Free Mode practicing the exact module combinations they expect to face.
Building a Reliable Defusal Strategy
Once you understand the module rules, the next step is building a team strategy that minimizes miscommunication. The most effective approach reported by experienced teams involves establishing a callout framework before the round starts. This means agreeing on specific phrases for common situations, such as "top left wire" or "red button, hold," so that the blind monkey does not need to interpret creative descriptions mid-round. Teams that skip this preparation often waste precious seconds clarifying vague instructions.
Another critical element is role-specific preparation. The mute monkey should practice describing module layouts through gestures, the deaf monkey should memorize the physical layout of common modules, and the blind monkey should become fluent in navigating the manual quickly. Each role has a different skill to develop, and the demo's Free Mode allows each player to practice their specific responsibilities without the pressure of a live bomb.
The manual navigation skill deserves special emphasis because it is the bottleneck for most teams. The blind monkey must find the correct page quickly, and the manual's organization follows a specific structure that becomes intuitive with practice. According to the official hot fix notes, the developers recently corrected an error in the Calculation Module page, which highlights that the manual is actively maintained and refined based on player feedback.
Here is a practical step-by-step approach for your first few successful defusals:
-
Step 1: Spend the first ten seconds of each round having the mute monkey gesture the module layout while the blind monkey opens the manual to the correct page.
-
Step 2: Solve the most communication-heavy modules first while everyone is still calm, saving simple modules for the final stretch.
-
Step 3: Assign one player to monitor needy modules and call out when they need attention, preventing surprise beeps from disrupting your focus.
-
Step 4: If a module causes two failed attempts, switch to a different module and return later with fresh eyes rather than tilting on the same puzzle.
This approach works because it front-loads the difficult communication work while your team still has mental energy, and it creates natural break points where you can reassess your strategy. Teams that follow this structure report significantly higher success rates on Normal difficulty, and the same principles scale up to Hard and Expert with minor adjustments.
Advanced Tips for Mastering BOMBANANA How to Defuse the Bomb
For players who have mastered the basics, advanced techniques can shave seconds off your defusal time and reduce strike rates further. The most impactful advanced skill is shorthand development — creating a personalized vocabulary for describing modules that is faster than the manual's formal language. For example, instead of saying "the third wire from the left in the top row," your team might agree on "top three" as a shorthand that the mute monkey can gesture quickly.
Another advanced technique involves parallel processing, where the team works on two modules simultaneously. This requires the mute monkey to describe both modules while the deaf monkey alternates between them, and it only works when the team has strong communication fundamentals. Community reports suggest that parallel processing can cut total defusal time by up to thirty percent on bombs with many modules, but it also increases the risk of confusion and strikes.
The manual memorization approach takes this further by having the blind monkey memorize the rules for common module configurations, reducing the need to flip pages during the round. This is particularly effective for wire modules, where the decision tree is relatively simple once you internalize the patterns. However, memorization becomes less reliable for complex modules like memory, where the rules depend on dynamic sequence positions.
For teams aiming at Expert difficulty, the pre-bomb briefing becomes essential. Before the timer starts, the team should review the manual together, discuss likely module combinations, and agree on specific responses to common scenarios. This briefing takes only thirty seconds but can prevent multiple strikes during the round, because the team enters with a shared mental model of what to expect. The official Discord server has extensive discussions of pre-bomb briefing strategies, and many top teams treat it as a mandatory ritual.
Frequently Asked Questions
What happens when you get three strikes in BOMBANANA!?
Three strikes trigger an immediate detonation, ending the round regardless of how much time remains on the main timer. The strike counter is shared across the team, so one player's mistake affects everyone. Some custom bombs in Free Mode allow you to adjust the strike limit, but the default campaign setting is three strikes.
Can you defuse the bomb with only two players?
The game is designed for exactly three players with asymmetric roles, and the module rules assume all three monkeys are present. While two players can technically attempt a round by combining roles, the communication gap becomes nearly impossible to manage. The official Steam page specifies three-player co-op, and the demo's matchmaking reflects this requirement.
How do needy modules work in BOMBANANA module rules?
Needy modules activate periodically after being solved, requiring you to perform a specific action before a secondary timer expires. If you ignore a needy module, it triggers a strike. These modules add ongoing pressure because you must monitor them while working on other puzzles, making them a constant test of your team's situational awareness.
Is Free Mode good for practicing BOMBANANA how to defuse the bomb?
Free Mode is the best practice tool because it lets you customize every aspect of the bomb, including module selection, timer duration, and strike limits. You can isolate specific module types and repeat them until your team masters the communication pattern. The demo includes Free Mode, and it has become the standard training ground for competitive teams.
What is the hardest module type in the game?
Most players agree the memory module is hardest because it demands tracking a dynamic sequence while coordinating all three roles—blind, deaf, and mute—through the information loop. Keypad ranks second, since describing abstract symbols over voice chat is error-prone. However, Free Mode lets you isolate specific modules to practice weak spots.